

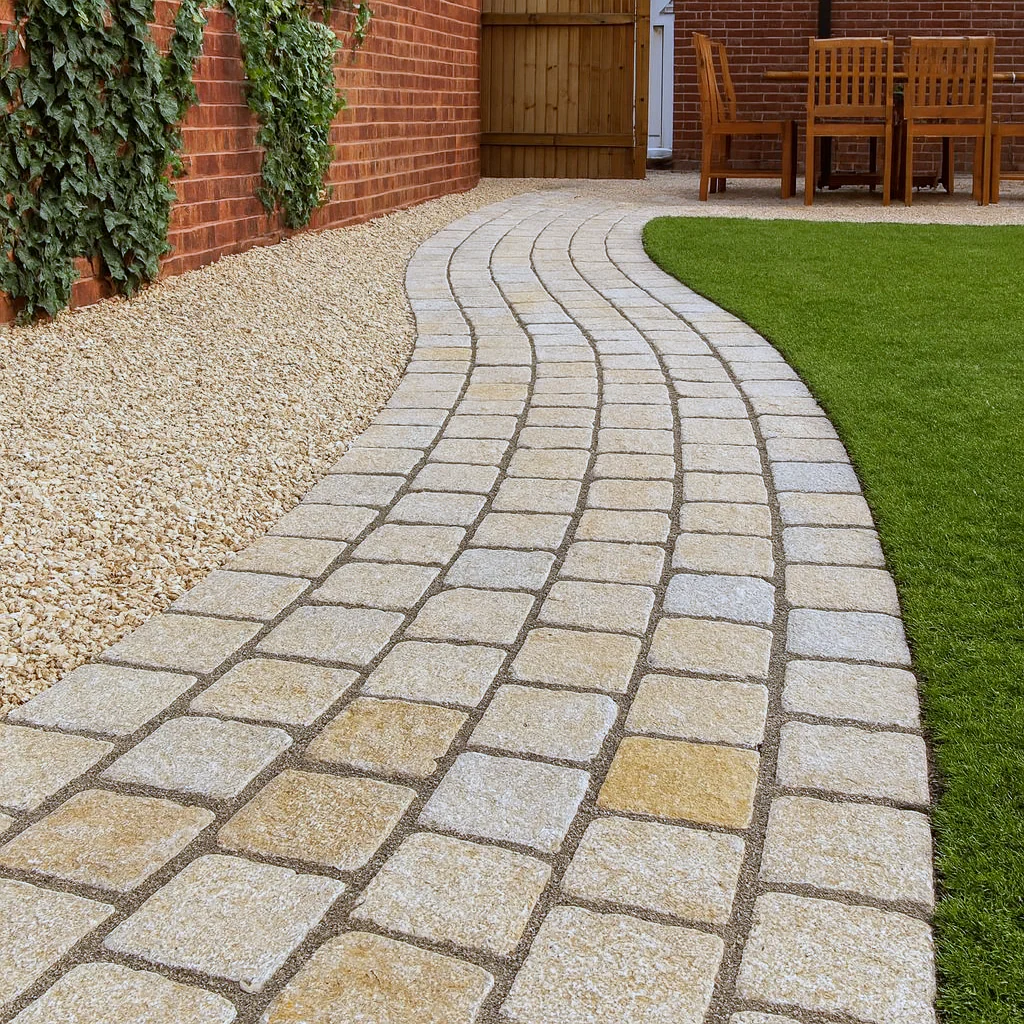
We have all seen a beautiful driveway or walkway made with cobbles and thought... "Wow, that looks solid." But the real magic is hiding underneath. Before a single stone goes down, the sub-base has to be right. And since cobbles are heavier and thicker than regular pavers, the ground under them matters even more.
Let us walk through it in a simple, friendly way... like we are chatting over a cup of coffee.
Why the Sub-Base Matters More Than People Realize
If the foundation under cobblestones is weak, the stones eventually sink, wiggle, or shift apart. Nobody wants a driveway that looks like it went through an earthquake. A strong sub-base spreads weight, handles weather swings, and keeps the stones firmly in place for years.
And here is something interesting... A study done by the Federal Highway Administration found that proper sub-base compaction can boost surface stability by more than 40%, which is why professionals focus more on what is underground than the stones on top.
Step 1: Clearing and Digging the Area
Before anything goes down, we clear the soil, roots, and debris. Simple but important. Most contractors dig around 6 to 8 inches for walkways and up to 12 inches if vehicles will drive on it.
Ever skipped digging properly? Ugh, we have all seen what happens... puddles, sloping, and stones that move around like loose teeth.
Step 2: The Actual Sub-Base (The Hero of This Whole Thing)
Alright, here is the part everyone wants to know:
The recommended sub-base is a compacted layer of crushed stone or road base material.
We are talking about materials like:
- Class II road base
- Crushed limestone
- Crushed granite
- ¾-inch minus gravel
These all lock together tightly once compacted, giving cobbles the support they need.
Industry research from the Interlocking Concrete Pavement Institute (ICPI) notes that a well-compacted crushed stone base reduces settling by more than 90%, especially in areas with freeze-thaw cycles.
Step 3: The Base Thickness... How Much Is Enough?
The thickness really depends on what the surface will handle:
- Walkways or patios... 4 to 6 inches
- Driveways or high-traffic areas... 8 to 12 inches
And yes, it feels like overkill sometimes, but trust us, this is the secret to cobblestones staying beautiful for a decade or more.
Step 4: Compaction... The Step People Skip (But Should Not)
We know the temptation to skip compaction. The ground looks flat... why spend extra time? But this is where long-term performance is made.
A plate compactor is usually run over the crushed rock in multiple passes. The goal is simple... remove air pockets and create a tight, solid base.
Many field studies show that even a small 5% gap in compaction can lead to sinking during rainy seasons. And nobody wants stones dipping like a roller coaster.
Step 5: Add a Bedding Layer
Before cobbles go in, a thin bedding layer makes everything sit nicely. Usually:
- 1 inch of coarse sand
- Or stone dust if you want something firmer
- Or a mix depending on your region
This layer smooths out the surface and lets you adjust each cobblestone without fighting the sub-base underneath.
Some installers now prefer stone dust because it drains slower, which helps hold the stones in place better. It is not required, but it is becoming a trend.
FAQs
1. How deep should I dig before installing cobblestones?
For walkways, dig about 6 inches. For driveways, up to 12 inches because of heavier loads.
2. Can I place cobbles directly on soil?
No. Soil shifts too easily. You need a compacted crushed stone base to prevent sinking.
3. Is sand or stone dust better under cobblestones?
Both work. Sand drains faster, stone dust grips better. Many pros use a mix depending on climate.
4. Do I need landscape fabric under the sub-base?
It is helpful in areas with soft soil. It stops the crushed rock from mixing with soil over time.
5. How long does a properly installed cobblestone surface last?
With a solid sub-base, cobblestones can last 50+ years with minimal maintenance.