

A beard hair transplant is a meticulous cosmetic procedure designed to restore, enhance, or reshape facial hair. Men in Riyadh increasingly seek this treatment to achieve a fuller, more defined beard, whether for aesthetic, cultural, or personal confidence reasons. Understanding the step-by-step process helps patients prepare mentally, physically, and financially, ensuring realistic expectations and optimal results.
Beard hair transplant in Riyadh is becoming increasingly popular for men looking to achieve a fuller, well-defined beard.
Step 1: Initial Consultation and Assessment
The process begins with an in-depth consultation with a qualified surgeon. During this session, the patient’s goals are discussed, and a thorough assessment is conducted, which includes:
-
Evaluating the existing beard pattern and density.
-
Identifying patchy or sparse areas that require grafting.
-
Examining the donor area, usually the back or sides of the scalp, to ensure there are sufficient healthy hair follicles for transplantation.
-
Reviewing the patient’s medical history, medications, allergies, and previous procedures.
The surgeon may also discuss factors such as beard shape, desired density, and growth direction, which are essential for natural-looking results. This planning phase ensures a personalized approach tailored to each individual.
Step 2: Pre-Procedure Preparation
Before the surgery, certain steps are taken to prepare both the patient and the surgical site:
-
Patients are advised to avoid alcohol, smoking, and certain medications (like blood thinners) that can increase bleeding risk.
-
The facial skin is cleansed thoroughly, and the beard area is shaved or trimmed if necessary to allow precise implantation.
-
The donor area is also prepared, sometimes trimmed to facilitate extraction.
-
Local anesthesia is administered to both the donor and recipient areas to minimize discomfort. This ensures the patient remains alert but pain-free during the procedure.
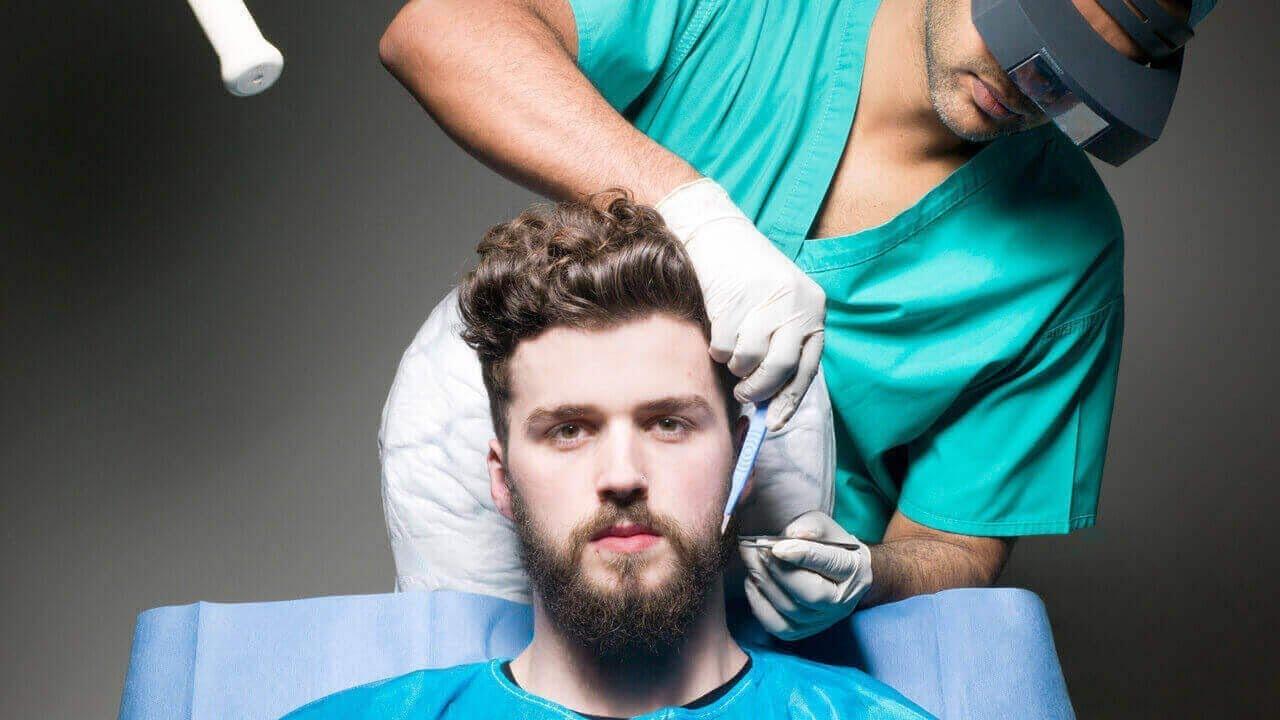
Step 3: Donor Hair Extraction
Once anesthesia is effective, the surgeon begins the hair extraction phase:
-
The most commonly used technique is Follicular Unit Extraction (FUE). In FUE, individual hair follicles are carefully removed from the donor area using tiny micro-punch tools.
-
Each follicular unit typically contains 1–4 hairs, and their integrity must be maintained for successful transplantation.
-
This step is crucial because the quality of donor hair directly impacts the final appearance of the beard.
FUE is preferred over older methods because it leaves minimal scarring, allows faster recovery, and provides high precision.
Step 4: Graft Preparation
After extraction, the harvested follicles undergo preparation for implantation:
-
The surgeon or a trained technician examines each graft under a microscope.
-
Follicles are sorted by size and quality to ensure uniformity during implantation.
-
Grafts are kept in a specialized solution to maintain viability until they are implanted.
This step requires careful handling because any damage to the follicles can reduce the survival rate and affect the final density.
Step 5: Recipient Site Creation
Next, the surgeon prepares the beard area for graft placement:
-
Tiny incisions or recipient channels are created in the patchy or thinning areas.
-
The angle, direction, and depth of each incision are carefully planned to mimic natural beard growth.
-
The surgeon considers facial symmetry and aesthetic balance to achieve a harmonious result.
This step is often considered the most artistic part of the procedure because it determines how natural and seamless the beard will appear.
Step 6: Graft Implantation
Once the recipient sites are ready, the prepared follicles are implanted one by one:
-
Each follicle is placed at the correct angle and depth to match the surrounding hair.
-
Dense areas, such as the chin or jawline, may receive more grafts, while sparse or decorative areas, like the cheeks or mustache, receive fewer.
-
The surgeon continuously checks for symmetry and natural growth patterns throughout the process.
This phase can be time-consuming, often taking several hours depending on the number of grafts and the size of the area being treated.
Step 7: Post-Procedure Care and Instructions
After implantation, the patient receives detailed aftercare guidance:
-
Redness, minor swelling, and tiny scabs at implantation sites are normal and usually subside within a few days.
-
Patients are advised to avoid touching, scratching, or washing the beard aggressively for the first few days.
-
Pain is typically minimal, but mild analgesics may be prescribed if needed.
-
Instructions regarding shampoos, moisturizers, and sun protection are provided to ensure proper healing.