

Old varnish has a habit of hiding the real beauty of wood. What once looked glossy and elegant can turn yellowed, cracked, or patchy over time, making even solid furniture or wooden floors feel tired. If you’ve ever wondered how to remove varnish from wood without damaging it, you’re not alone. Whether you’re restoring a dining table, refreshing doors, or tackling a DIY upcycling project, knowing the right approach makes all the difference.
This guide breaks down how to remove varnish on wood safely, effectively, and with confidence, using methods that suit UK homes and real-world DIYers.
Why Remove Varnish from Wood in the First Place?
Before jumping into tools and products, it helps to understand why removing varnish from wood is often necessary:
-
Restoration: Old varnish can obscure grain detail and character.
-
Refinishing: New stains or finishes won’t adhere properly over existing varnish.
-
Repairs: Scratches, burns, and water marks are easier to fix on bare wood.
-
Style updates: Natural, matte, or painted finishes are trending over high-gloss varnish.
Removing varnish properly ensures the wood underneath remains strong, smooth, and ready for its next life.
Common Methods to Remove Varnish from Wood
There isn’t a one-size-fits-all solution. The best method depends on the wood type, condition, and your comfort level with tools or chemicals.
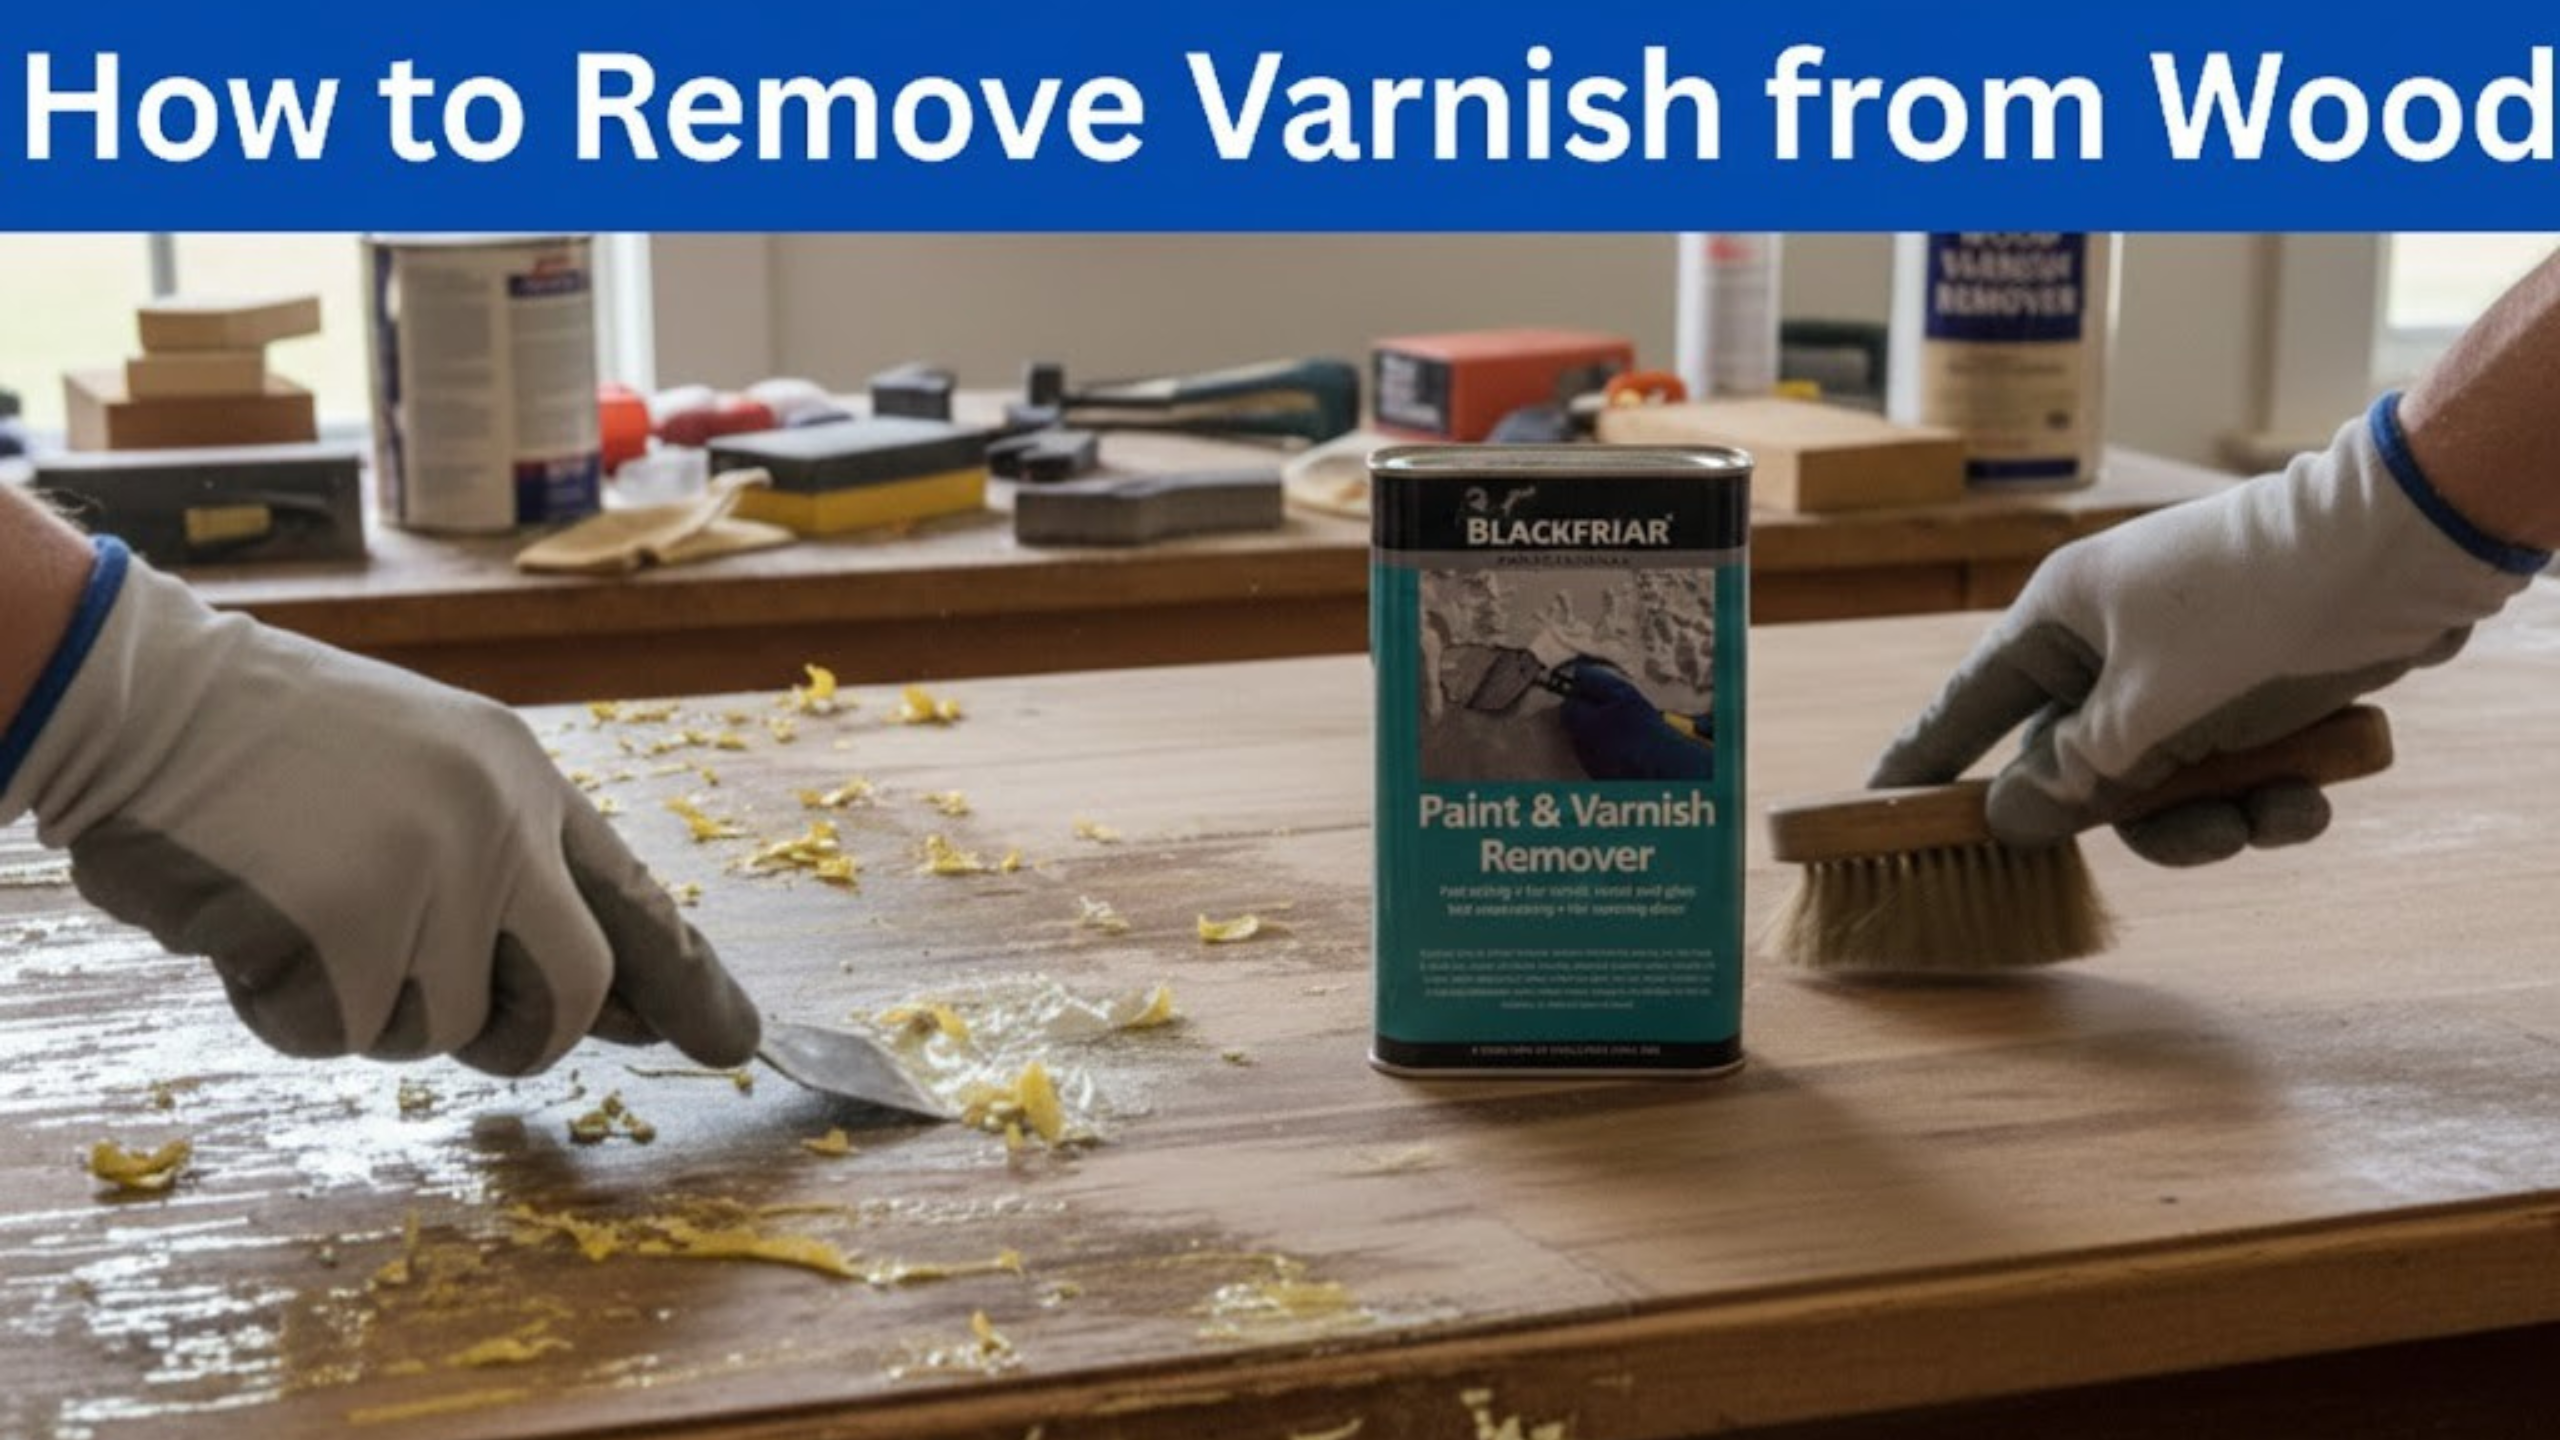
1. Using a Varnish Remover for Wood
A varnish remover is often the most efficient and beginner-friendly option. These products soften the varnish so it can be scraped away without excessive sanding.
How it works:
-
Apply the wood varnish remover evenly with a brush.
-
Allow it to sit for the recommended time.
-
Gently scrape off the softened varnish.
-
Wipe down and neutralise if required.
Modern options like a paint and varnish remover or a home strip paint & varnish remover are designed to be less aggressive while still effective. They’re especially useful for carved furniture, mouldings, and detailed woodwork.
Best for: Furniture, doors, skirting boards, and decorative wood.
2. Sanding: The Traditional Approach
Sanding physically removes varnish layer by layer. While straightforward, it requires patience and care.
Tips for sanding success:
-
Start with medium grit and work towards finer grades.
-
Always sand with the grain.
-
Avoid aggressive pressure to prevent gouging.
Sanding is often used after chemical stripping to smooth the surface once most of the varnish has been removed.
Best for: Flat surfaces like tables, floors, and worktops.
3. Heat Guns (With Caution)
Heat guns soften varnish using high temperatures, allowing it to be scraped off.
Pros: Fast and chemical-free
Cons: Risk of scorching wood, releasing fumes, or damaging glue joints
This method is best left to experienced DIYers and should always be used with proper ventilation.
Step-by-Step: How to Remove Varnish from Wood Safely
If you’re using a varnish remover for wood, follow these practical steps:
Step 1: Prepare the Area
-
Work in a well-ventilated space.
-
Lay down protective sheets.
-
Wear gloves and eye protection.
Step 2: Apply the Varnish Remover
Use a brush to apply a generous, even layer of varnish remover wood solution. Avoid over-brushing, as this reduces effectiveness.
Step 3: Wait Patiently
Let the remover do the hard work. Rushing this stage often leads to patchy results.
Step 4: Scrape Gently
Use a plastic or wooden scraper to lift softened varnish. For corners and details, steel wool or an old toothbrush works well.
Step 5: Clean and Neutralise
Wipe down the surface as instructed on the product label. This ensures no residue interferes with future finishes.
Step 6: Light Sanding
Finish with fine-grit sandpaper to achieve a smooth, ready-to-finish surface.
Mistakes to Avoid When Removing Varnish from Wood
Even confident DIYers can run into trouble. Avoid these common errors:
-
Skipping test patches: Always test on a hidden area.
-
Over-sanding: This can permanently damage the wood.
-
Mixing methods incorrectly: For example, sanding before chemical stripping.
-
Poor ventilation: Especially when using a home strip paint and varnish remover.
Taking your time often leads to better, longer-lasting results.
Choosing the Right Products Matters
Not all removers are created equal. Look for a varnish remover for wood that suits your project size and complexity. Reliable suppliers like Trade Supplies Uk offer practical solutions trusted by both professionals and home users, making it easier to match the right product to your specific needs without overcomplicating the job.
What to Do After Removing Varnish
Once the wood is bare, the possibilities open up:
-
Apply a natural oil to highlight grain
-
Re-varnish with a modern, low-sheen finish
-
Paint for a fresh, contemporary look
-
Wax for a soft, traditional feel
Proper preparation ensures whichever finish you choose will last and look its best.
Final Thoughts:
Learning how to remove varnish from wood isn’t just about stripping away an old finish — it’s about revealing potential. With the right method, patience, and a suitable wood varnish remover, you can transform tired wood into something that looks purposeful and new again.