

If your home has a chimney, moisture is always a risk.
Rain.
Snow.
Humidity.
Condensation.
Without protection, water slowly destroys your chimney from the inside out.
That is why chimney waterproofing is one of the most critical home maintenance steps you can take.
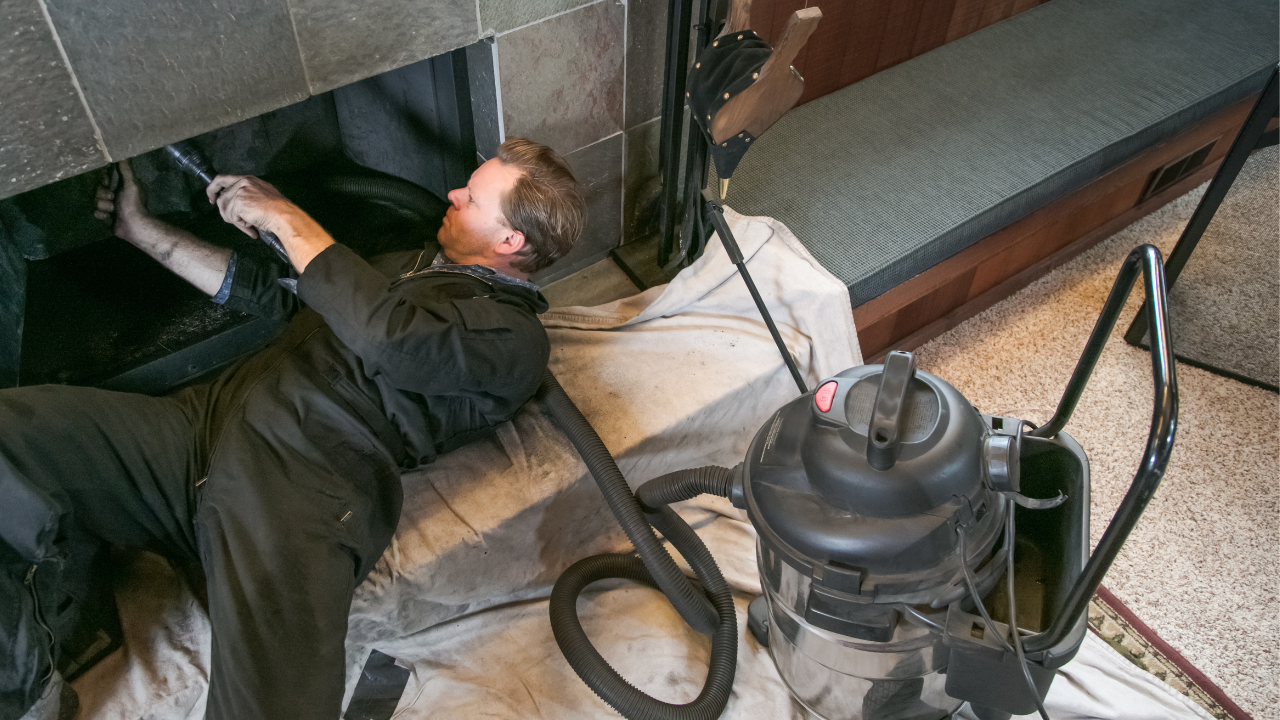
Professional Local Chimney Sweep Services and AAA Air Duct Cleaning treat damp proofing as a priority service because moisture damage never stays small.
This guide explains how to damp proof a chimney correctly and how to keep it dry for years.
Why Chimneys Become Damp
Brick and mortar look solid, but they are porous.
They absorb water easily.
When moisture enters:
-
Bricks crack and flake
-
Mortar joints weaken
-
Mold grows
-
Rust forms inside the firebox
-
Musty odors develop
-
Structural integrity declines
Dampness inside a chimney is not just cosmetic.
It is destructive.
Common Causes of Chimney Dampness
Rain and Snow Absorption
Without chimney waterproofing, moisture penetrates directly through masonry.
Cracked Chimney Crown
The crown seals the top of the chimney.
Cracks allow water to flow inside.
Failed Flashing
Loose or damaged flashing lets rain leak into the roof and chimney structure.
Missing Chimney Cap
Without a cap, rain enters directly down the flue.
Condensation Build-Up
Warm air meets cold masonry.
Moisture forms inside the chimney.
Difference Between Damp Proofing and Chimney Waterproofing
Damp proofing focuses on controlling moisture movement inside the structure.
Chimney waterproofing blocks moisture from entering in the first place.
The best protection uses both methods together.
How to Damp Proof a Chimney: Step-by-Step
Step 1: Complete Chimney Inspection
Look for:
-
Damp stains
-
Cracked mortar
-
White salt deposits
-
Spalling brick
-
Rusted components
-
Mold growth
Professional Local Chimney Sweep Services use moisture meters and visual inspection.
Step 2: Repair Structural Damage
Before damp proofing, fix:
-
Mortar joints
-
Brick damage
-
Chimney crown cracks
-
Flashing failures
Never apply damp proofing to a damaged chimney.
Step 3: Install or Replace Chimney Cap
A chimney cap blocks:
-
Rain
-
Snow
-
Debris
-
Animals
This is essential for moisture control.
Step 4: Improve Internal Ventilation
Condensation is a major source of dampness.
Improve airflow by:
-
Checking flue liners
-
Ensuring damper function
-
Maintaining proper draft
Good ventilation reduces internal moisture buildup.
Step 5: Apply Chimney Waterproofing
This is the most important step.
Use a siloxane-based masonry water repellent.
It:
-
Penetrates deep
-
Blocks rain
-
Allows vapor escape
-
Prevents freeze-thaw cracking
-
Preserves brick appearance
This is the core of chimney damp proofing.
Step 6: Seal the Chimney Crown
Apply crown sealant to prevent water entry from the top.
This protects the flue and internal masonry.
Step 7: Waterproof the Flashing
Apply elastomeric sealant along flashing edges.
Reinforce with waterproof tape if necessary.
This seals roof-to-chimney connections.
Step 8: Monitor Interior Moisture
Check inside fireplace for:
-
Damp patches
-
Rust
-
Musty odor
Early detection prevents major repairs.
How Long Damp Proofing Protection Lasts
When chimney waterproofing is applied correctly, protection lasts 5 to 10 years.
Annual inspections help maintain performance.
Why Professional Service Matters
DIY damp proofing often misses hidden moisture pathways.
Professional service from AAA Air Duct Cleaning and experienced Local Chimney Sweep Services includes:
-
Full inspection
-
Structural repair
-
Premium materials
-
Correct application
-
Long-term protection
-
Warranty-backed work
This ensures reliable moisture control.
Signs Your Chimney Needs Damp Proofing
-
Musty odor
-
White staining on brick
-
Rust inside fireplace
-
Peeling paint near chimney
-
Damp walls or ceilings
-
Mold growth
Do not ignore these warnings.
Seasonal Damp Proofing Benefits
Winter
Prevents freeze-thaw cracking.
Stops ice damage.
Spring and Summer
Blocks rain infiltration.
Controls humidity.
Fall
Prepares chimney for heating season.
Prevents condensation buildup.
Cost vs Value
Damp proofing costs far less than:
-
Brick replacement
-
Mold remediation
-
Structural reinforcement
-
Interior water damage repairs
It protects both your chimney and your home.
Choosing the Right Chimney Professionals
When hiring, look for:
-
Certified chimney technicians
-
Experience with moisture control
-
Siloxane-based waterproofing products
-
Detailed inspection reports
-
Written warranties
-
Strong local reputation
Trusted Local Chimney Sweep Services and AAA Air Duct Cleaning deliver consistent results.
Final Thoughts
If you want a dry, healthy chimney, proper damp proofing is essential.
By combining repairs, ventilation, crown sealing, flashing protection, and professional chimney waterproofing, you can eliminate moisture problems for years.
With expert support from Local Chimney Sweep Services and AAA Air Duct Cleaning, your chimney stays strong, safe, and moisture-free.