

A leaking shutoff valve may seem minor, but it can lead to water waste, costly utility bills, and even damage to walls or flooring if left unaddressed. Addressing the issue promptly helps prevent bigger leaks and expensive repairs. In this blog, we’ll focus on how to tighten a leaking shutoff valve safely without replacing it or causing further damage. You’ll learn how to identify the source of the leak, use the right tools, and follow simple, step-by-step techniques to effectively stop the drip. With a little care and the proper method, you can fix the problem quickly and confidently.
What is a Shutoff Valve & Why Does It Leak
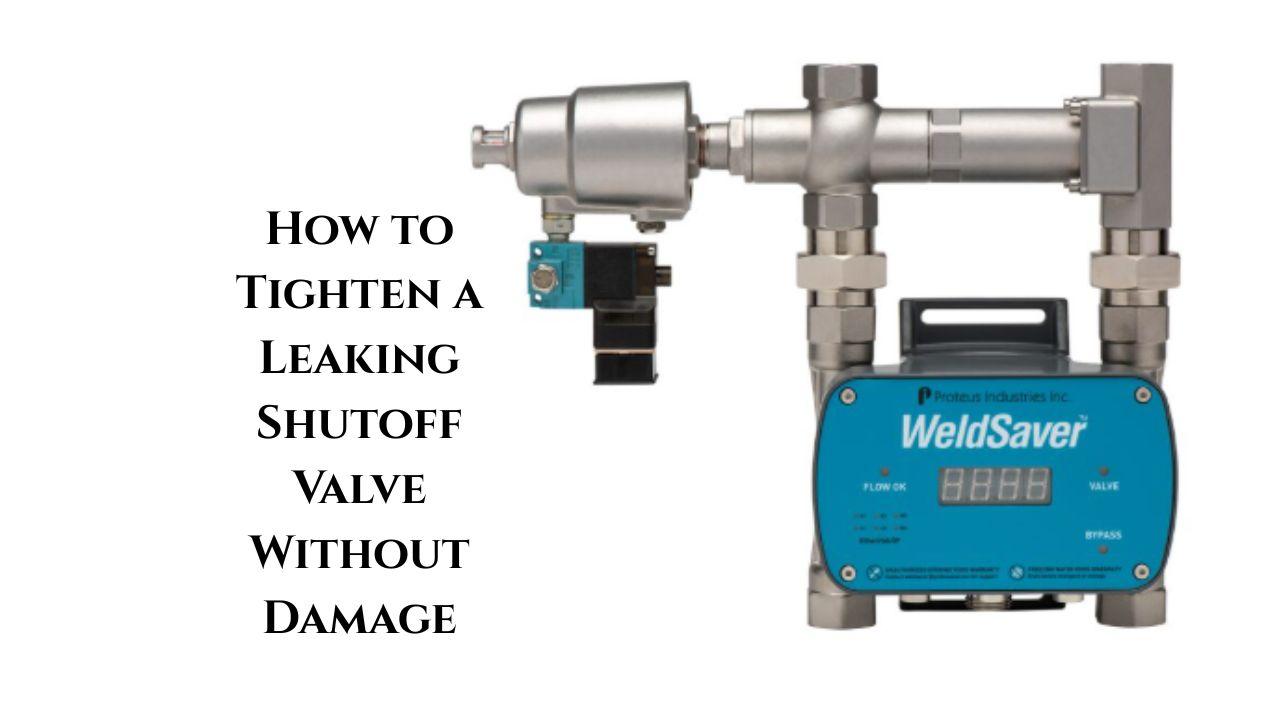
A shutoff valve is a small yet essential plumbing component used to control the flow of water to fixtures, such as sinks, toilets, or the main water supply. It allows homeowners to quickly stop water during repairs or emergencies. Over time, shutoff valves can develop leaks due to worn washers or packing nuts, corrosion around the valve stem, or loose fittings. Sometimes, a valve that isn’t fully closed repeatedly can wear down its internal parts. Ignoring a leaking shutoff valve can lead to water damage, mould growth, and increased utility bills, making timely inspection and repair crucial for preventing costly problems.
Assessing the Situation: Is Tightening the Right Fix?
Before tightening a leaking shutoff valve, it’s essential to inspect the source of the leak.
Identify the leak source: Check if the water is seeping from the valve stem from the valve body or pipe connections.
Test the valve function by turning the handle to ensure it stops the water flow completely. If it doesn’t shut off fully, tightening may not solve the issue.
Look for visible damage: Inspect for cracks, corrosion, or worn-out fittings. A minor drip near the stem or packing nut typically indicates a loose or dried-out seal, which can be corrected by gentle tightening.
Know when replacement is needed: If the valve body is cracked, heavily corroded, or too old, tightening won’t help. In these situations, the best and most reliable way to stop future leaks is to replace the shutoff valve entirely.
Step-by-Step: How to Tighten the Valve Without Damage
-
Shut Off and Drain the Valve
-
Start by turning off the water supply—this could be a local shutoff or the main valve. Once the water is off, open the nearest downstream faucet to relieve any built-up pressure and allow residual water to drain completely.
-
Dry and Clean the Area
-
Use a dry cloth to thoroughly clean the valve and the area around it. This simple step helps you spot the precise location of the leak more easily. If there’s any corrosion, rust, or mineral buildup around the valve stem or packing nut, remove it gently using a brush or cloth.
-
Tighten the Packing Nut Carefully
-
Using an adjustable wrench, give the packing nut a gentle ¼ to ½ turn clockwise. Avoid over-tightening, as this can strip the threads or damage the valve. Once tightened, wipe away any moisture and check if the leak has stopped.
-
Test the Valve
-
Slowly turn the water supply back on and observe the valve closely. If water continues to drip around the stem or body, turn off the supply again. In that case, the packing or washer may need to be replaced for a complete fix.
Conclusion
In conclusion, a leaking shutoff valve can often be repaired by simply tightening it when handled carefully and promptly. Taking quick action not only stops the drip but also helps conserve water, reduce utility costs, and prevent potential water damage over time. Regularly inspecting your shutoff valves helps ensure the early detection of small leaks before they become serious problems. If you notice corrosion, persistent leaks, or are uncertain about the repair process, it’s best to contact a professional plumber for an expert inspection. Don’t ignore minor leaks—addressing them early keeps your plumbing system efficient and your home protected.
Frequently Asked Questions
Q: How much should I tighten the packing nut?
A: In most cases, tightening the packing nut by just a quarter to half a turn is enough to stop a minor leak. After adjusting, turn on the water and check if the leak persists. If it continues, tighten slightly more — but do so gradually to avoid damaging the valve.
Q: Can I use WD-40 or another lubricant instead of tightening?
A: Lubricants like WD-40 can help free up a stiff or hard-to-turn valve, but they won’t fix a leak caused by worn packing. The only real solution is to tighten or replace the packing material to create a proper seal.
Q: Is tightening safe for all valve types, like brass or plastic?
A: Tightening is generally safe for metal valves such as brass or copper. However, plastic valves are more fragile, so use minimal force to prevent cracks or damage.
Q: Will tightening reduce the valve’s lifespan?
A: When done correctly, tightening won’t harm the valve. But overtightening or frequent improper adjustments can wear out the packing and shorten the valve’s lifespan.