

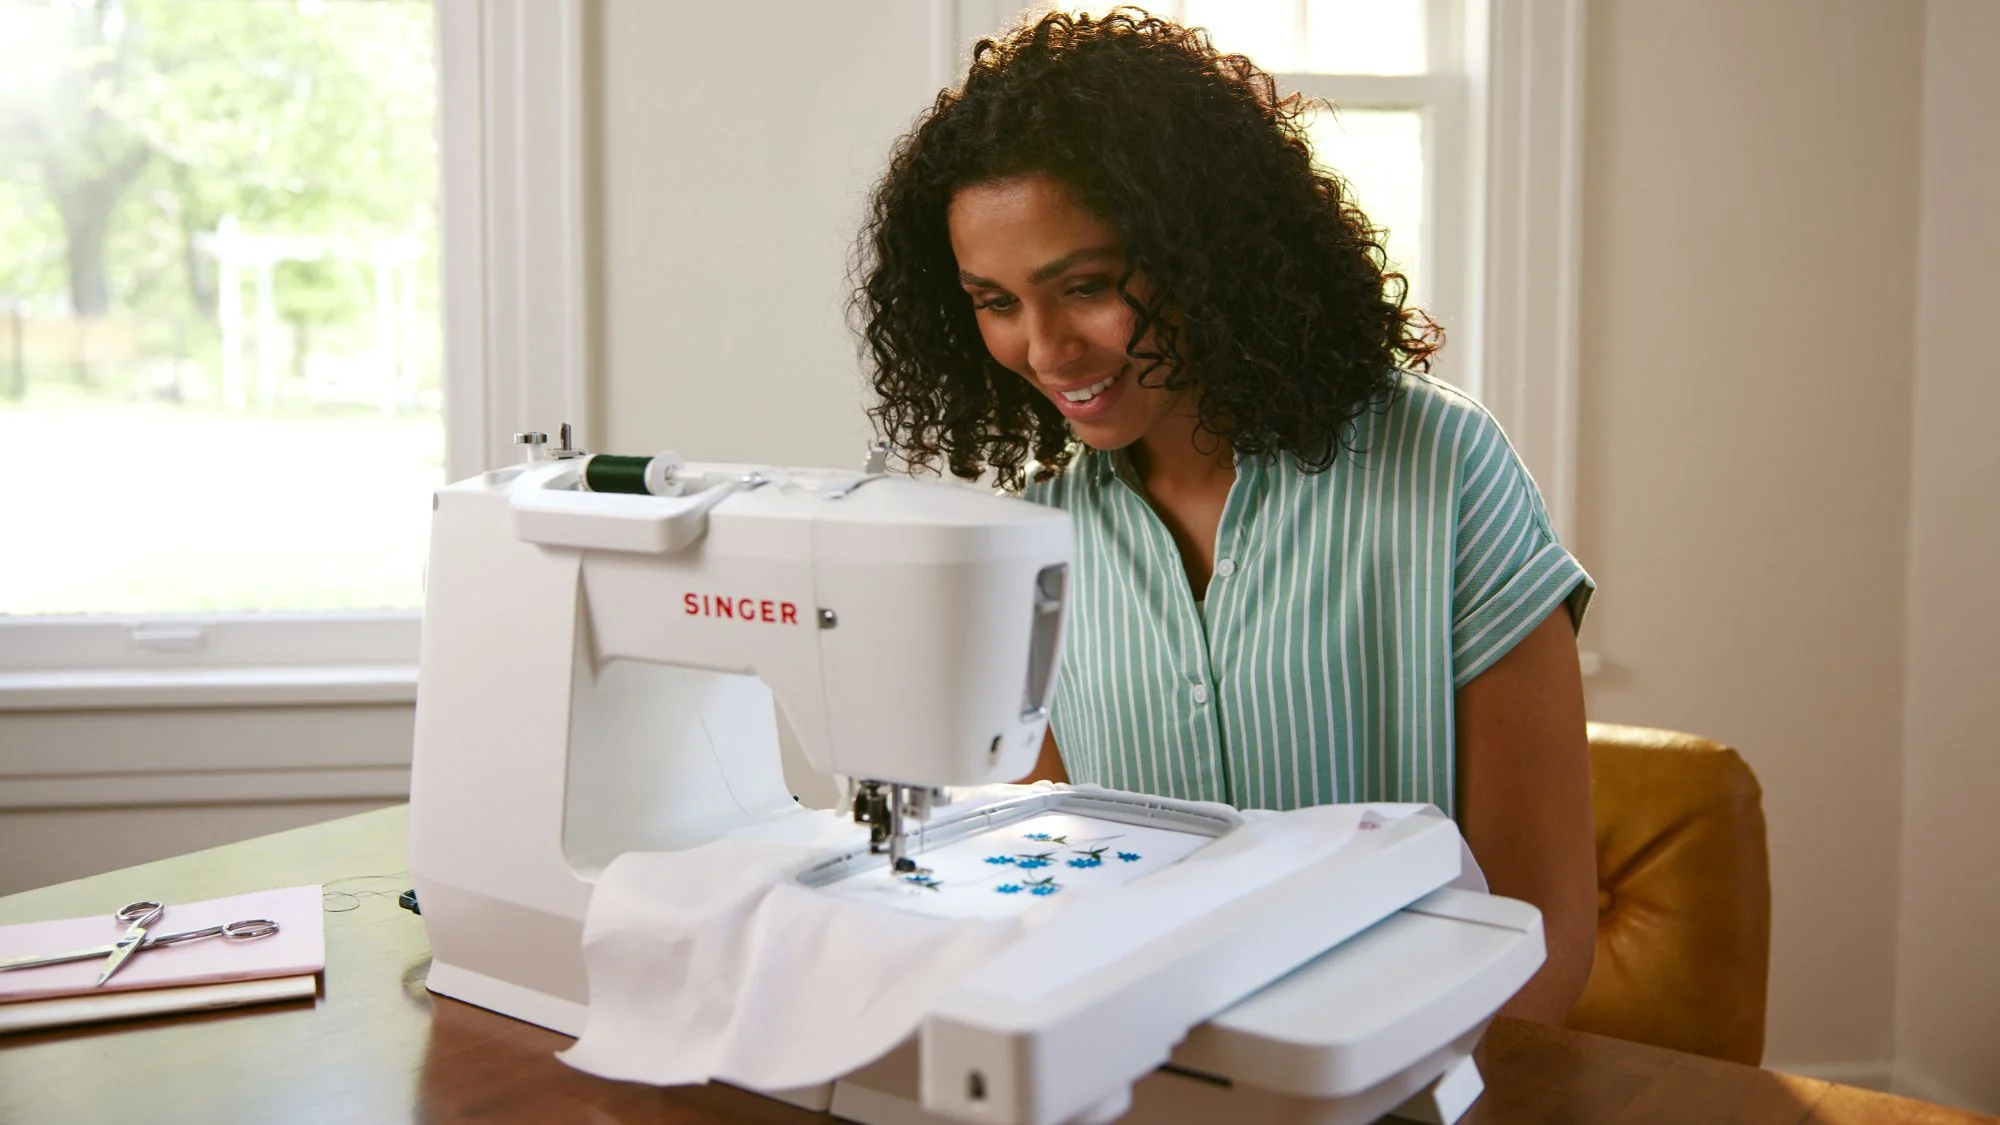
Introduction
Ever spent hours on an embroidery design only to discover your machine won't read the file? You're not alone. The right DST file converter can mean the difference between frustration and flawless stitching.
Whether you're just starting your embroidery journey or running a professional shop, this guide will help you find the perfect DST converter for your needs and budget. We've tested dozens of options to bring you the best choices from free beginner tools to industrial-grade software.
What is a DST File and Why Does It Matter?
DST (Data Stitch Tajima) is the universal language of embroidery machines. Think of it like this:
-
Your design = A book
-
DST file = The translation your machine can read
-
Converter = The translator doing the work
Key Features of Good DST Converters:
✔ Preserves stitch quality
✔ Maintains proper thread colors
✔ Handles complex designs
✔ Works with your machine format
Free DST Converters for Beginners
1. Ink/Stitch (Inkscape Extension)
Best for: Tech-savvy hobbyists
-
Completely free and open-source
-
Converts SVG to DST
-
Steep learning curve but powerful
Ideal for: Simple designs, personal projects
2. MyEditor (Brother)
Best for: Brother machine owners
-
Free with Brother machines
-
Basic conversion capabilities
-
Limited to PES/DST formats
Ideal for: Quick edits on Brother systems
3. SewArt Free Trial
Best for: Testing before buying
-
30-day free trial
-
Simple auto-digitizing
-
Watermarked outputs
Ideal for: Beginners exploring digitizing
Mid-Range Converters ($50-$300)
1. Embrilliance Essentials ($99)
Best for: Casual embroiderers
-
User-friendly interface
-
Good basic conversion
-
One-time purchase
Best feature: Merge multiple designs easily
2. Hatch Embroidery Digitizer ($199)
Best for: Growing businesses
-
Excellent auto-digitizing
-
Includes lettering tools
-
Free updates for 1 year
Best feature: Smart undo/redo function
3. StitchArtist Level 1 ($249)
Best for: Serious hobbyists
-
Professional-grade tools
-
Great stitch control
-
Pays for itself quickly
Best feature: Customizable keyboard shortcuts
Professional DST Converters ($300+)
1. Wilcom EmbroideryStudio ($1,500+)
Industry standard for:
-
Large embroidery businesses
-
Complex designs
-
High-volume production
Why professionals love it:
-
3D stitch simulation
-
Advanced editing tools
-
Batch processing
2. Pulse Ambassador ($999)
Best for: Small professional shops
-
Cloud collaboration
-
Excellent auto-features
-
Regular updates
Standout feature: Design sharing options
3. Tajima DG/ML ($3,000+)
The luxury choice for:
-
Industrial operations
-
Perfect stitch placement
-
Multi-head machines
Worth the investment for: 500+ designs/year
Online Conversion Services
When to Use Online Converters:
-
One-time projects
-
No software budget
-
Tight deadlines
Top Online Options:
-
EmbroideryDesigns.com ($12-$50/design)
-
DigitEMB ($15-$75/design)
-
SewWhatPro ($10-$30/design)
Pro tip: Always request test stitches for critical projects
How to Choose Your Perfect Converter
Ask yourself these questions:
1. What's Your Project Volume?
-
Occasional hobbyist → Free/$100 options
-
Weekly projects → $200-$500 range
-
Daily production → Professional systems
2. What's Your Skill Level?
Beginners should look for:
-
Simple interfaces
-
Auto-features
-
Good tutorials
Advanced users need:
-
Precise control
-
Customization
-
Professional outputs
3. What Machines Do You Use?
Check compatibility with:
-
Home machines (Brother, Janome)
-
Commercial machines (Tajima, Barudan)
-
Multi-head systems
Conversion Tips for Better Results
Before Converting:
✔ Clean up your design file
✔ Simplify complex elements
✔ Set the correct size
During Conversion:
-
Adjust stitch density (0.35-0.45mm for most fabrics)
-
Set proper underlay
-
Optimize stitch sequence
After Conversion:
-
Always test stitch
-
Check for thread breaks
-
Verify color changes
Common Conversion Mistakes
1. Using Low-Quality Source Files
Fix: Start with vector (SVG/AI) files when possible
2. Ignoring Fabric Type
Fix: Adjust settings for:
-
Stretch fabrics (lower density)
-
Thick materials (higher density)
3. Skipping Test Stitches
Fix: Always stitch a sample on:
-
The actual fabric
-
With the same stabilizer
4. Overlooking Machine Specs
Fix: Check:
-
Maximum stitch count
-
Hoop size limits
-
Supported formats
Free Resources to Improve
Learning Materials:
-
Wilcom YouTube Channel (Professional techniques)
-
Ink/Stitch Documentation (Free software guide)
-
Embroidery Forums (Real-user advice)
Practice Files:
-
UrbanThreads.com (Free designs)
-
EmbroideryLibrary.com (Sample files)
-
GitHub repositories (Open-source projects)
Conclusion
Finding the right DST converter doesn't require a fortune - just the right match for your needs. Here's the quick recap:
For Hobbyists:
Start with free options like Ink/Stitch or affordable tools like Embrilliance
For Growing Businesses:
Invest in Hatch or StitchArtist for more control
For Professionals:
Wilcom or Tajima systems will pay for themselves
Remember: The best converter is the one that fits your actual needs today while leaving room to grow. Start simple, master the basics, then upgrade when your skills and business demand it.
Final Tip: Many high-end software companies offer 30-day trials - perfect for testing before committing. Your perfect embroidery workflow is just a download away!